

To install a curtain rod, choose fixings that suit your wall, mark level bracket positions, and drill the holes to the depth stated in the fixing instructions. Secure the brackets, fit the rod and curtains, and tighten the retaining screws. Check that the brackets stay firm and the curtains move freely, and add a center support wherever the rod maker requires one.
Choose the Right Rod and Gather Your Tools
Choose a curtain rod that can carry your curtains across the full gap between its supports. A rod that fits the window width can still sag if it is too thin, stretched close to its limit, or fitted without the required center bracket.
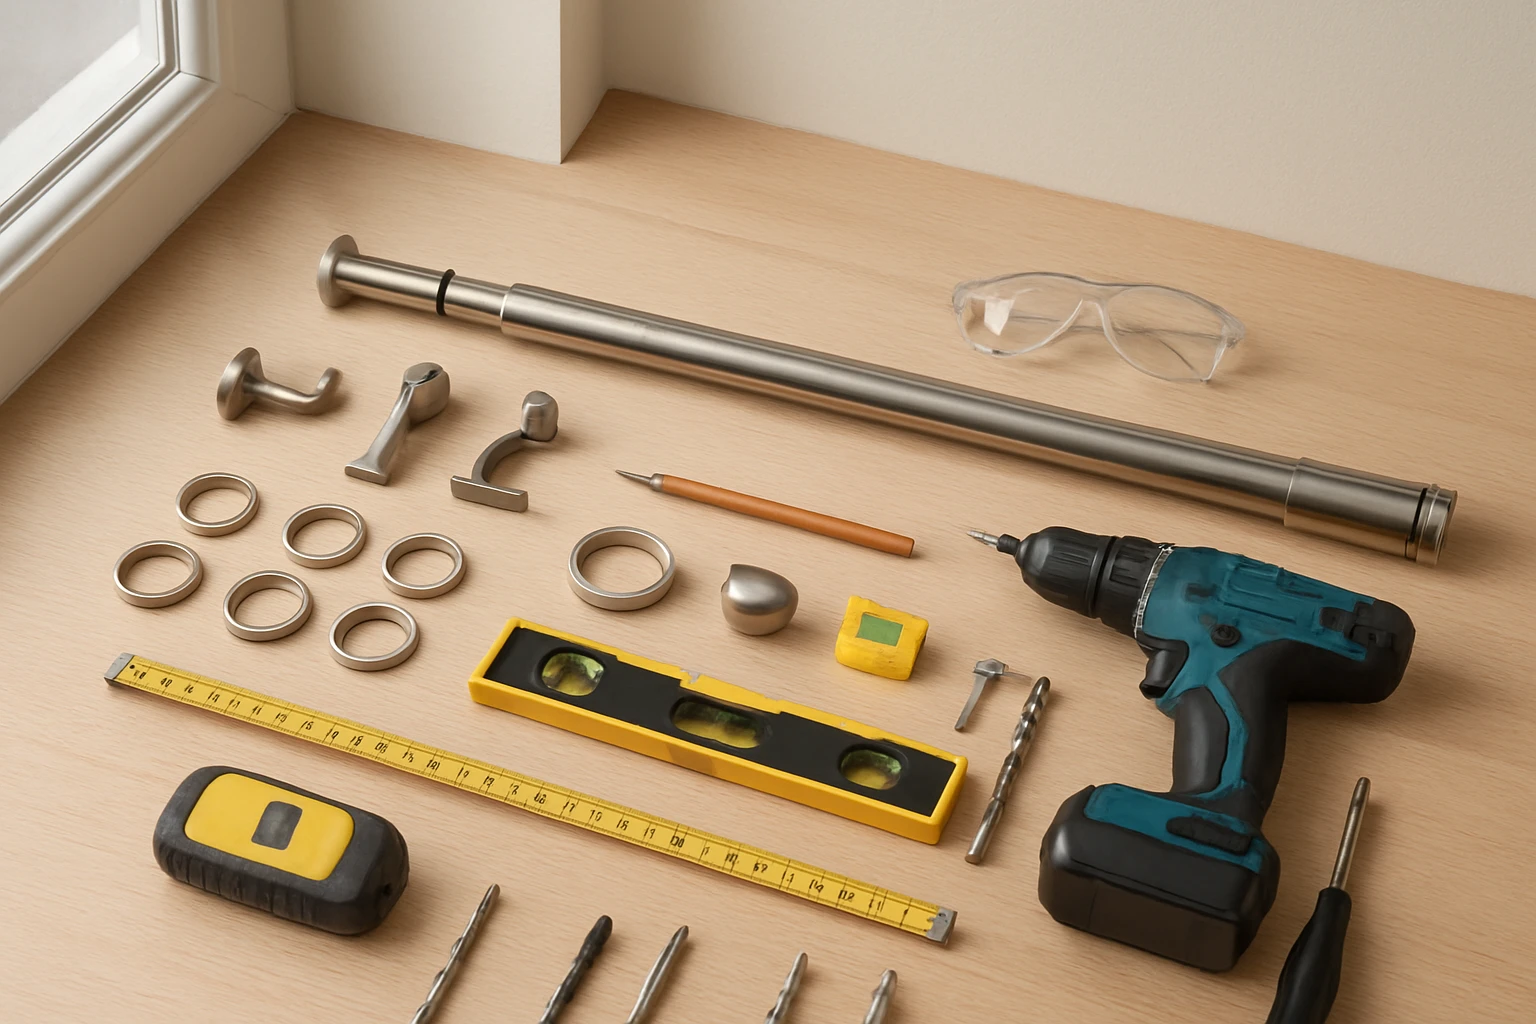
This guide from The Curtain Shop covers a standard wall-mounted curtain pole. Ceiling tracks, bay window rods, and motorized systems need their own fitting instructions.
Check these details before you start:
- Rod size and support spacing. Follow the maker’s limits for rod length, curtain weight, and bracket spacing. A telescopic rod may carry less weight when extended farther.
- Curtain heading. Eyelet curtains slide straight onto the pole, while pleated curtains usually need rings and hooks. Our guide to different types of curtains explains the main styles.
- Bracket depth. The bracket must hold the curtain far enough from the wall to clear handles, blinds, and projecting sills.
- Wall fixings. Do not assume that the plugs supplied in the box suit your wall.
You will usually need a tape measure, pencil, spirit level, drill, suitable drill bits, screwdriver, detector, safety glasses, and a stable stepladder. Have a vacuum ready for dust, and ask someone to help with a long rod rather than reaching sideways from the ladder.
Lay out the parts and check for missing screws, bent brackets, or damaged threads before drilling. If hardware bought from the shop is incorrect or damaged when it arrives, check the return and refund policy before cutting or altering it.
Match the Wall Fixings to the Wall
Curtain rod brackets need fixings that grip the wall behind its paint or plaster finish. Choose them to suit the wall material, bracket shape, and load, rather than choosing a plug simply because it fits the screw.
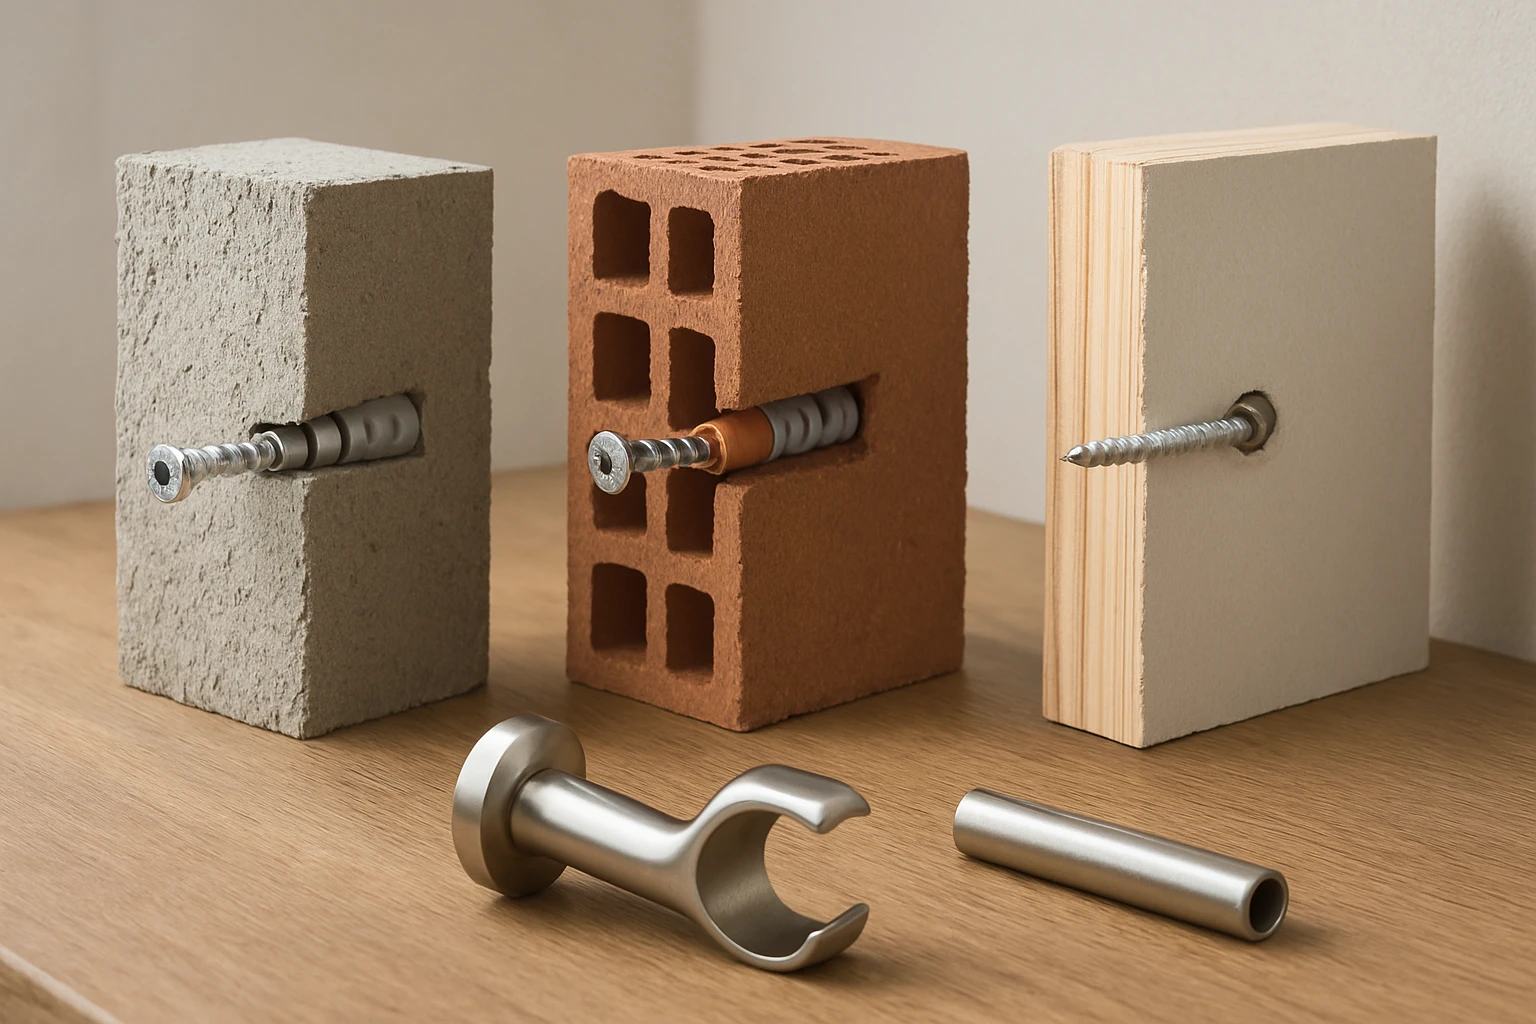
| Wall Material | Suitable Fixing Approach | What Can Go Wrong |
|---|---|---|
| Solid concrete or solid brick | A masonry plug and screw, or another fixing rated for that base material | The wrong hole size or loose dust can stop the fixing from gripping |
| Hollow block or hollow brick | A fixing specifically rated for hollow masonry | A basic plug may expand into an empty space rather than grip the wall |
| Plasterboard over timber studs | Screws into sound studs where bracket positions allow | A screw held only by the thin board can pull out |
| Plasterboard without a usable stud | A suitable cavity fixing within its stated load limits | The board can crush, or the anchor may lack space to open behind it |
| Sound timber trim or backing | Wood screws with enough grip in solid timber | Thin decorative trim may split or pull away from the wall |
A bracket projects from the wall, so the curtain’s weight pulls outward on its upper fixing as well as downward. Longer brackets increase that pull, which is why an anchor’s stated weight rating alone does not prove that a curtain installation is safe.
In UAE apartments, a painted wall may hide concrete, blockwork, or plasterboard. Tapping the surface is not enough to tell you for sure what is underneath. Check building information or ask a qualified installer if you are unsure.
Before drilling, scan for cables, pipes, and metal, and check both sides of the wall where possible. A detector reduces risk but cannot prove that a spot is clear. Do not drill where a cable or pipe may run, and stop if you meet unexpected metal rather than forcing the bit through it.
Check your tenancy and building rules before making holes. Structural concrete, unknown wall construction, or drilling near electrical fittings are good reasons to use a professional.
Measure the Rod Height, Width, and Wall Clearance
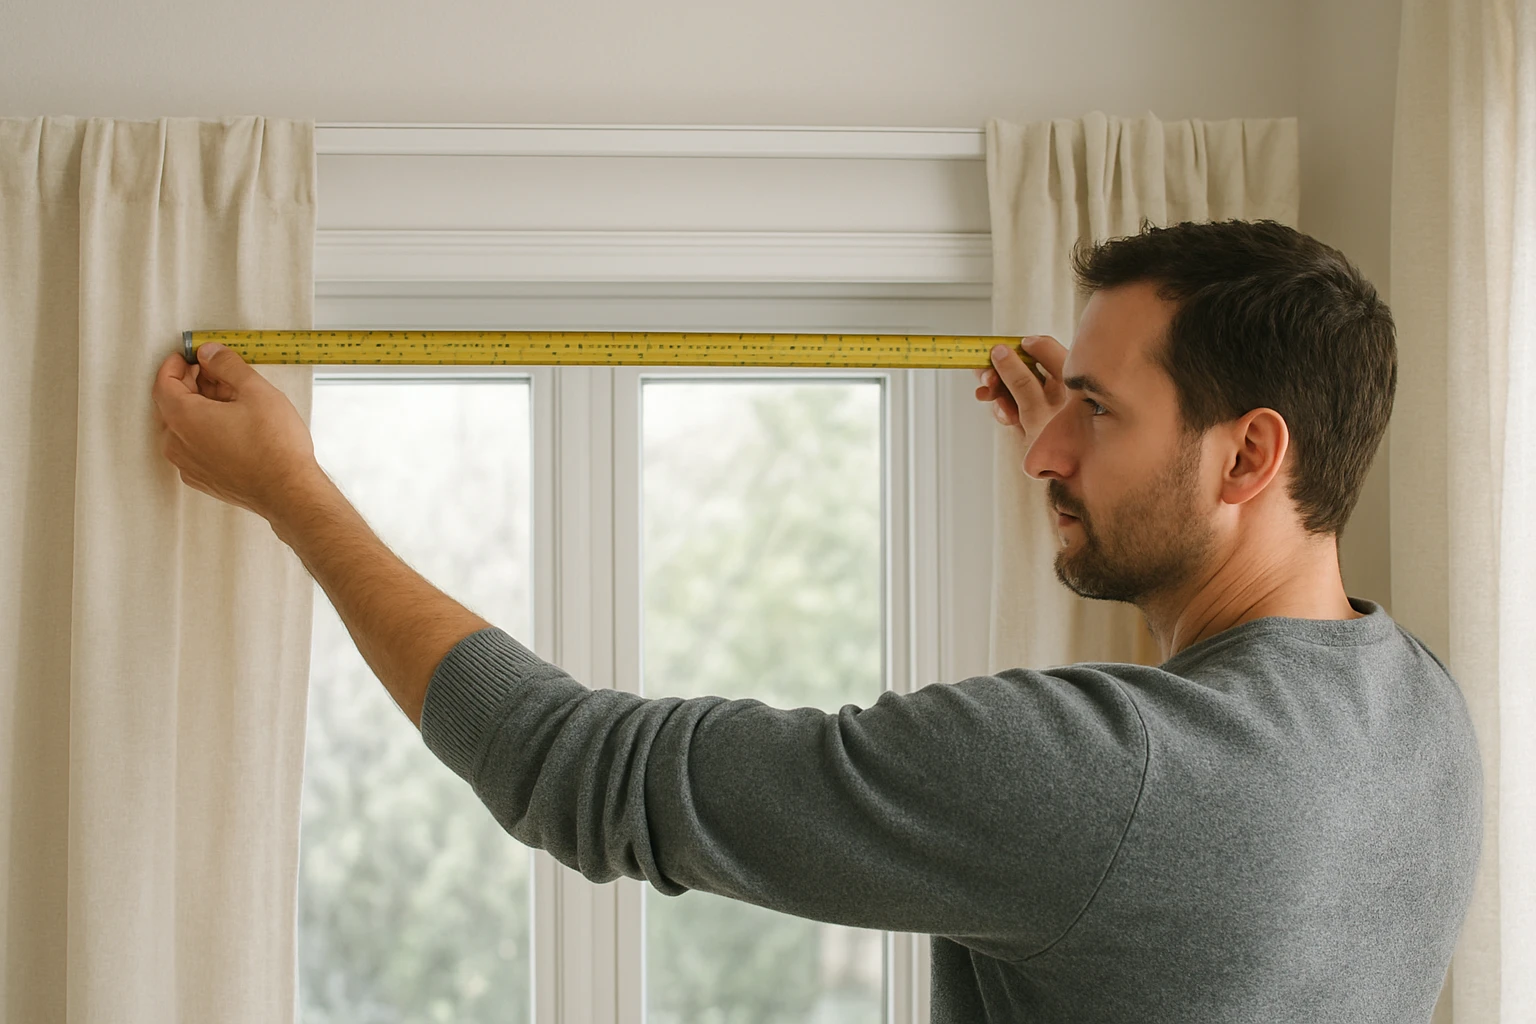
Set the rod position based on the finished curtain length and the space needed beside the window. Measuring only the window frame can leave curtains dragging on the floor, blocking the glass, or catching on handles.
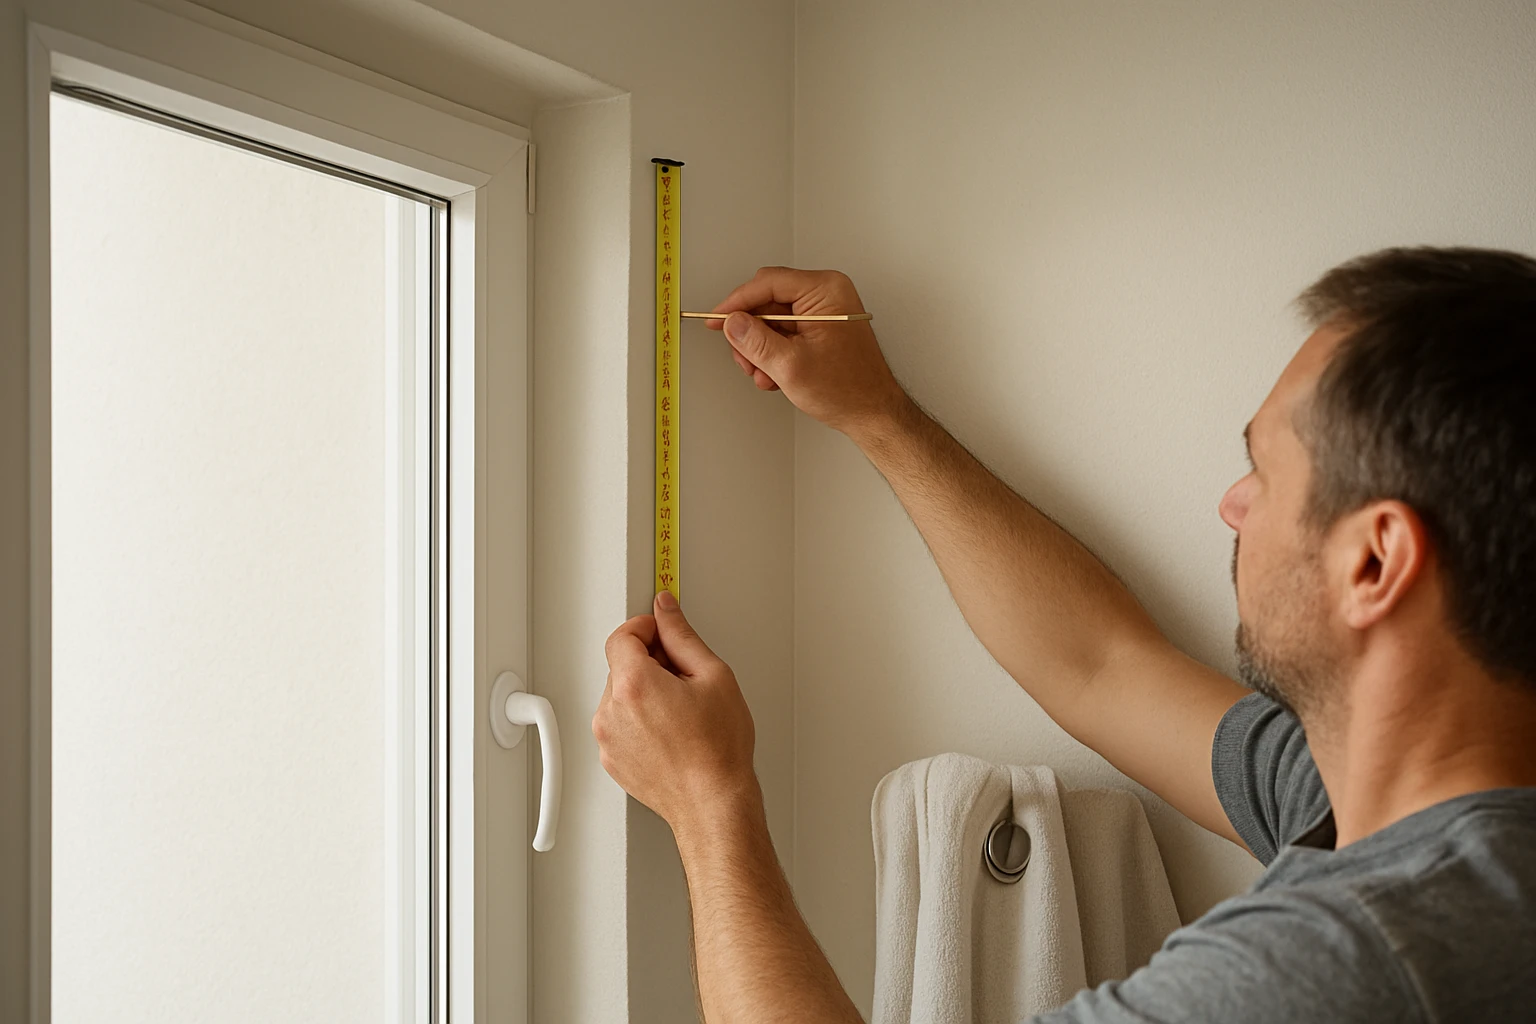
Set the Height from the Curtain Heading
For a standard window, about 10 to 15 cm above the top of the frame is a useful starting point for the rod position, not a fixed rule. A higher position may suit the room, but only if the curtain length and safe fixing space allow it.
Measure how your actual curtain hangs before marking the wall. Eyelet fabric extends above the pole, while rings and hooks place the curtain top at a different height. The stated curtain length alone does not tell you where to drill.
For floor-length curtains, a gap of roughly 1 to 2 cm above a hard floor is a practical starting point because it reduces dragging. Check both sides and the middle of the window, since floors are not always level. The highest point of the floor sets the clearance you need.
Allow Room for the Curtains to Open
Start by allowing roughly 15 to 25 cm of usable rod beyond each side of the window frame. Thick curtains may need more space because the folded fabric takes up room when open. This folded bundle is often called the curtain stack.
For example, a 120 cm wide window with 20 cm of extra rod on each side needs about 160 cm of usable rod. Finials, the decorative end pieces, may add to the overall width without adding usable hanging space. Check how the product’s length is measured before buying.
Do not automatically put each bracket at the end of that measurement. Bracket positions depend on the rod design, the space needed for finials, and the maker’s required support spacing.
If you are comparing blackout curtains and sheer curtains, check the actual fabric weight as well as its purpose. Lined blackout panels can place more load on the same rod than light sheers, and double rods carry the combined weight of both layers.
Check the Curtain’s Distance from the Wall
The curtain needs enough room to pass handles, blinds, and sills without rubbing. Measure how far the largest obstacle sticks out, then allow space for the fabric folds rather than checking the bare rod alone.
For a double curtain rod, leave room between the layers so they can move without catching each other. Avoid choosing the longest bracket by default, since extra depth also increases the force on the wall fixings.
Install the Curtain Rod in 8 Steps
Install the brackets first, then fit the rod and curtains in the order needed for your curtain heading. Follow the fixing instructions for drill diameter, hole depth, and screw size, because those details vary between products and walls.
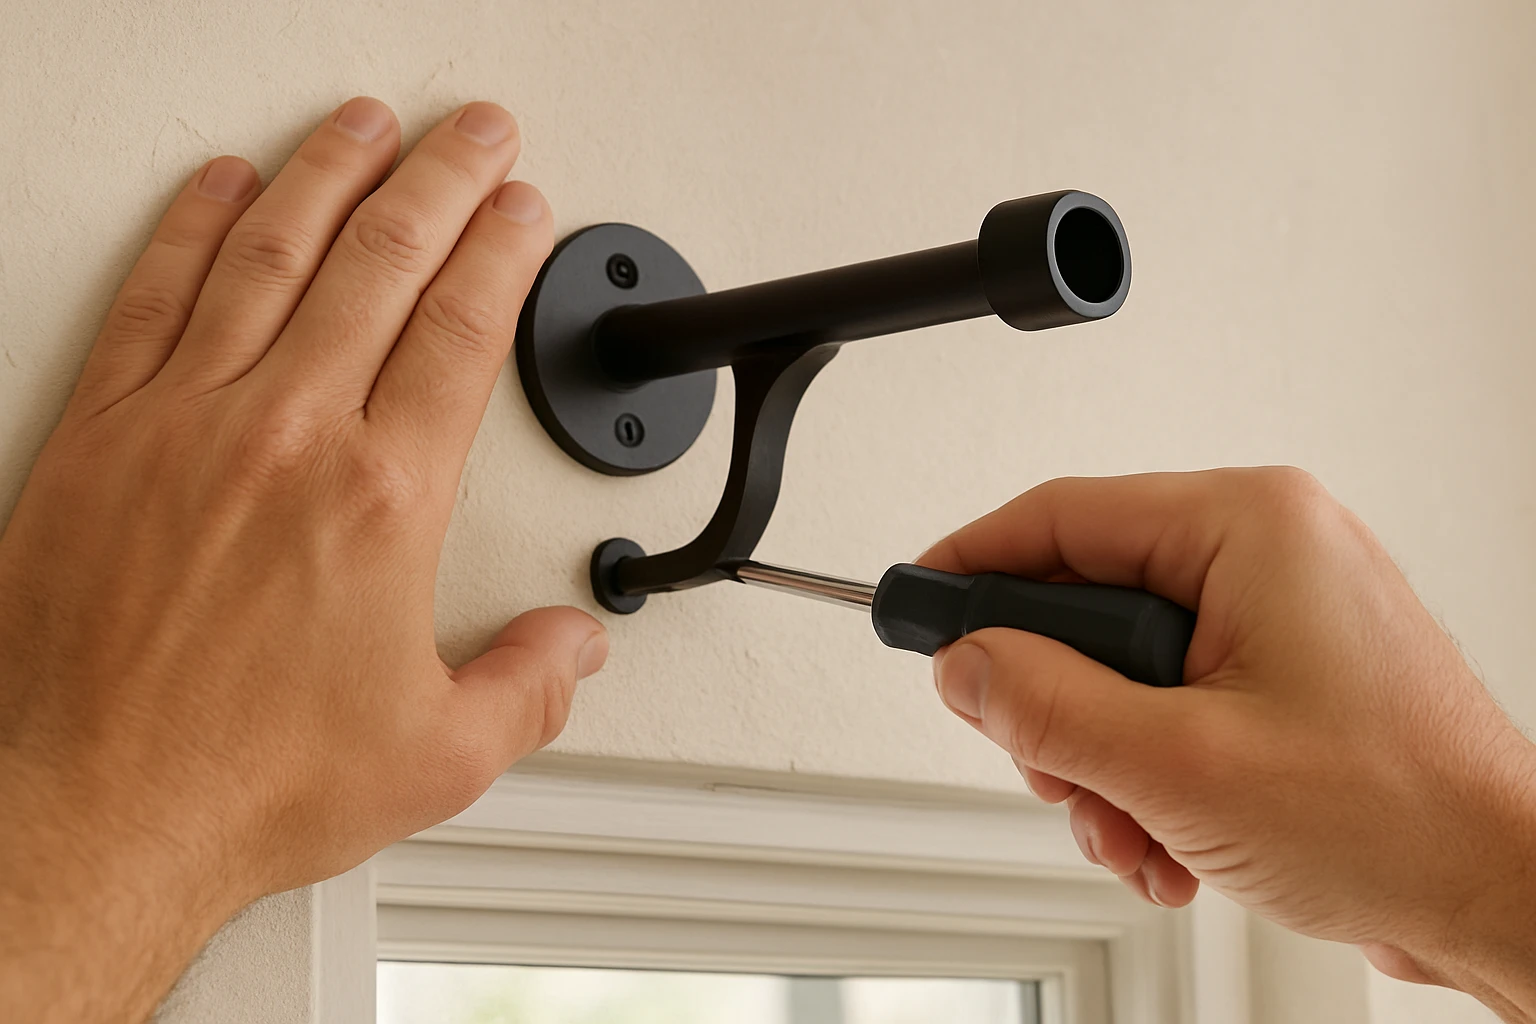
Mark the planned rod position. Mark the window center and your chosen rod height, then work outward to the end bracket positions. Check that the finished rod and finials will clear nearby walls, cupboards, and doors.
Transfer the bracket holes to the wall. Hold each bracket in its planned position and mark through its fixing holes. The rod sits above or away from those holes, so use the actual bracket or its supplied template rather than guessing the distance.
Check the full layout for level. Use a spirit level long enough to compare the bracket positions, or use a laser level. Measure from the point where the rod rests in each bracket, not from unmatched edges of the mounting plates. Window trim and ceilings may slope, so do not use them as your only guide.
Mark any required center support. Place it according to the rod instructions and check that the rod will sit in line with the end supports. A standard center bracket stops rings and eyelets from sliding across the middle, so plan one curtain panel on each side. A single panel that must cross the full opening needs a compatible passing system or curtain track.
Drill the fixing holes. Recheck for hidden cables and pipes, put on safety glasses, and use the drill bit and depth specified for the fixing. Mark the depth on the bit or use a depth stop. Use hammer action only when suitable for the wall and allowed by the fixing instructions, never as a default for plasterboard or hollow materials. Remove drilling dust as directed by the fixing maker.
Fit the anchors and secure the brackets. Install each fixing as instructed, then tighten the brackets until they sit firm and square. Finish carefully rather than driving hard with a power tool, since too much force can strip a fixing or crush plasterboard. A screw that spins without tightening is a fault to correct before continuing.
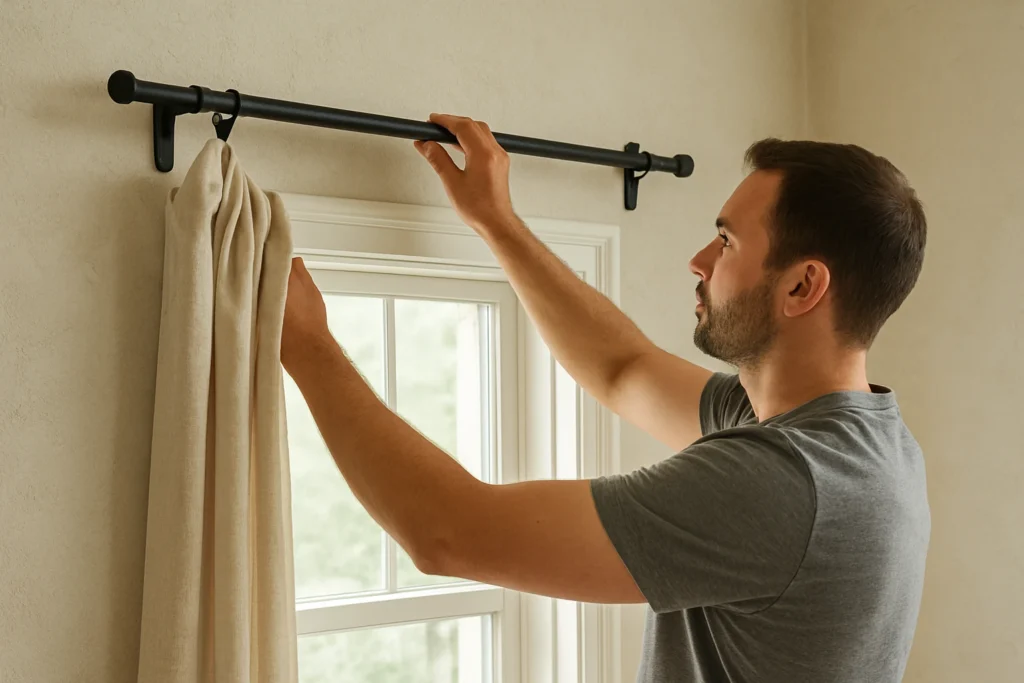
Assemble and place the rod. Add rings, eyelet curtains, or rod-pocket curtains before fitting the second finial where needed. Extend a telescopic rod only within its stated range and keep the required overlap between its sections. Set the rod into every support with an even overhang at both ends.
Lock the rod in place. Tighten the bracket retaining screws and check the finials. If the rod has a telescopic joint, keep the joint away from the area where rings move most often, where the design allows. Then check that the rings pass over it without catching.
Do not cut a rod unless the maker permits it. Cutting can remove an end fitting, damage the finish, or affect warranty terms. For products bought from the shop, check the applicable product warranty before making changes.
Hang the Curtains and Check the Finished Fit
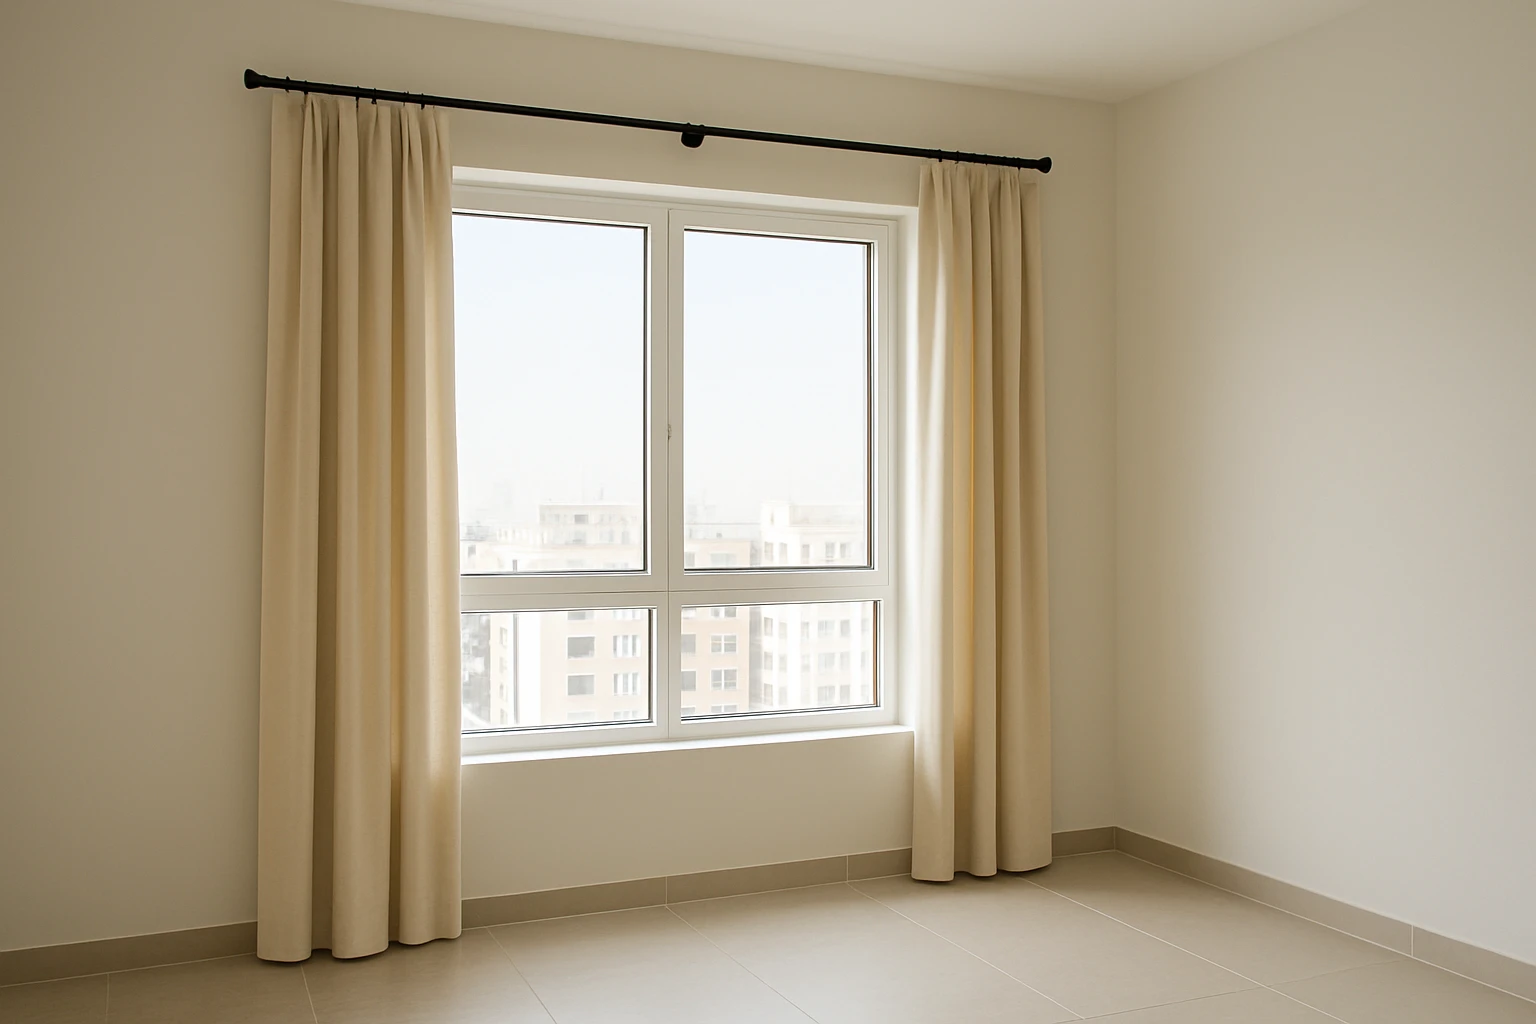
Open and close the curtains slowly after hanging them, and watch the brackets as the fabric moves. The brackets should stay still, the rod should stay in its supports, and the curtain hem should clear the floor as you move it.
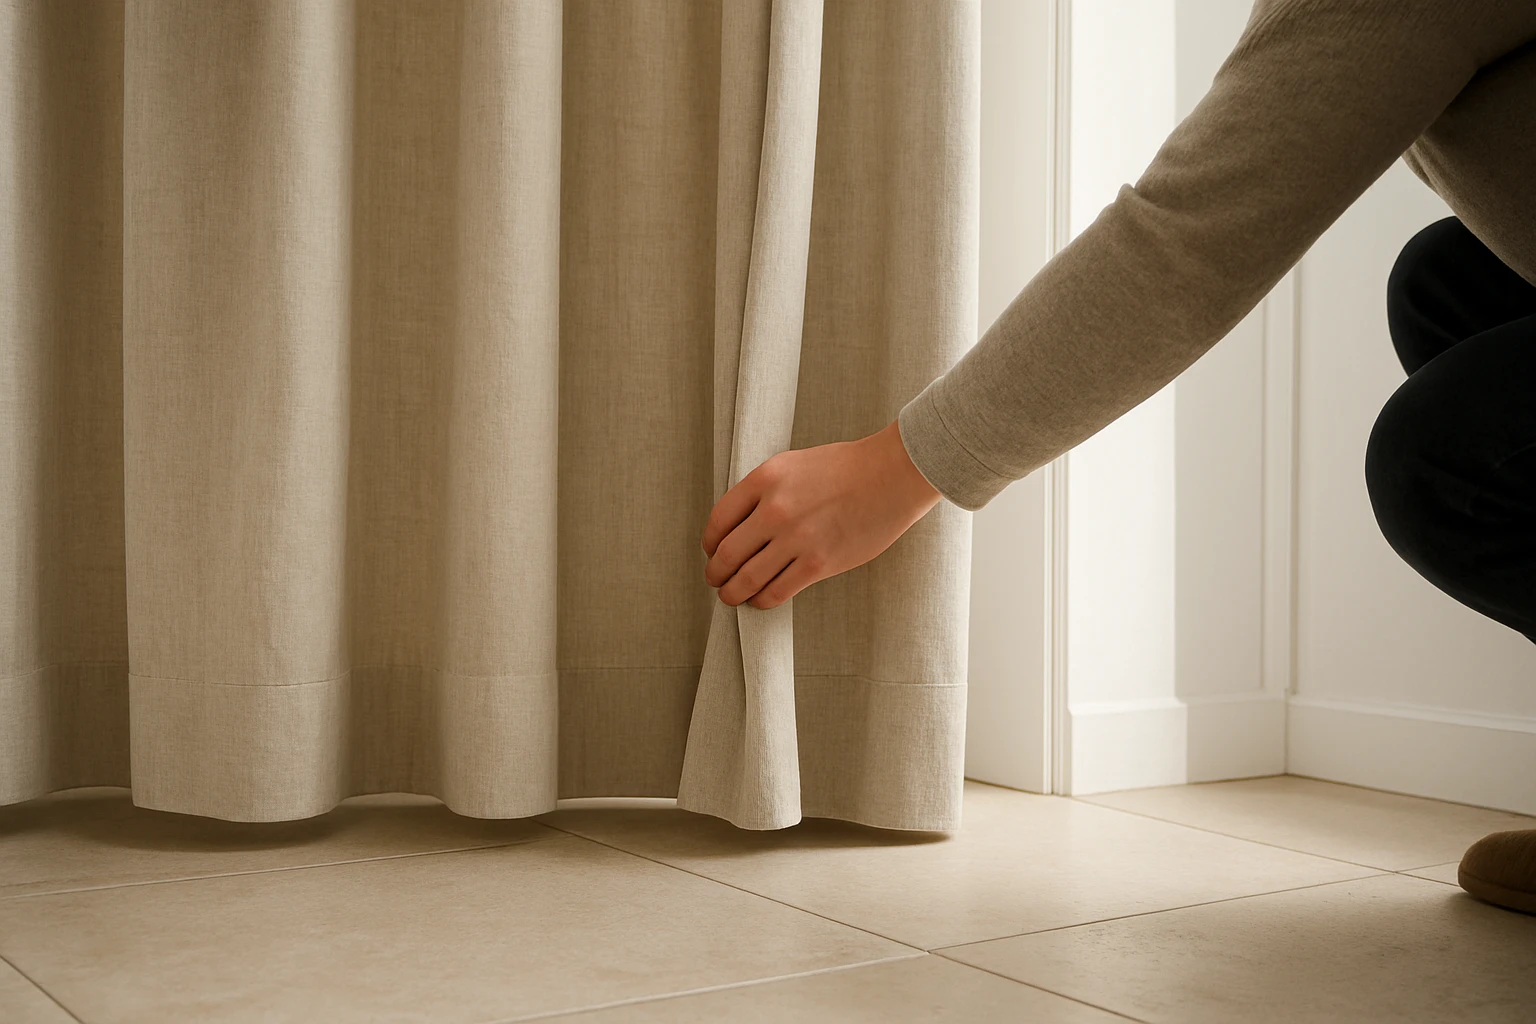
Spread the gathers evenly, then check that the curtains open, close, and cover the sides of the window. Where the heading allows it, placing one ring outside each end bracket can help keep the outer curtain edge near the wall. Leave enough space between the bracket and finial so that the ring is not trapped.
Check each bracket with gentle hand pressure, but never hang from the rod or use body weight to test it. If a bracket moves, take the curtains down and fix the cause before use. Pulling the curtain harder is not a safe way to test weak fixings.
If the rod is level but the curtain is too long, use adjustable hooks where suitable or arrange curtain alteration. Lowering one bracket to hide an uneven hem makes the pole slope and can cause the curtain to drift toward one side.
Keep any curtain cords or tieback loops out of children’s reach, and do not place a cot where a child can reach the curtain hardware.
Fix Sagging, Loose Brackets, and Curtains That Catch
A sagging curtain rod or loose bracket means you need to fix a load or wall-fixing problem, not just give the screw another turn. Remove the curtains before adjusting damaged hardware so that the wall fixings are not carrying weight while you work.
| Problem | Likely Cause | What to Do |
|---|---|---|
| The rod dips in the middle | Too much unsupported span, an undersized rod, or missing center support | Check the rod’s support limits, add approved support, or choose a stronger rod |
| A bracket pulls away from the wall | Unsuitable anchor, damaged wall material, or poor fixing grip | Remove the load and replace the fixing with one suited to sound wall material |
| A screw spins without tightening | Stripped timber, a turning plug, or an oversized hole | Stop tightening and repair the fixing point using a suitable method |
| Rings catch near the middle | A telescopic joint, center bracket, or unsuitable ring size blocks travel | Check ring clearance and joint position, or use a system designed for the required travel |
| The curtain rubs against a handle | Too little clearance between the rod and wall | Use a suitable deeper bracket and recheck fixing capacity |
| The curtain drags on one side | Uneven floor, unequal hook settings, or a sloping rod | Check the rod with a level, then adjust the heading or hem |
| The curtain lets in light at the sides | Too little side coverage or a large wall gap | Review curtain width, rod extension, and the distance from the wall |
Do not pack a failed hole with loose scraps and put the same screw back under load. A repair must leave a firm, secure fixing point, and the right method depends on the wall material and the damage.
If the wall is cracked, the bracket is bent, or a fixing has pulled out more than once, stop using the rod until it has been checked. A curtain repair service is a sensible next step when the cause is unclear, especially with heavy curtains or high windows.
Frequently Asked Questions
Should I Wash New Curtains Before Installing the Rod?
Check the care label before washing new curtains, and allow for any permitted washing before setting the final hem height. Some fabrics can shrink, while others need dry cleaning or must not be washed. If you plan to wash washable curtains regularly, measuring them after that first wash can help avoid a later length problem.
Can I Attach a Curtain Rod to the Ceiling Instead of the Wall?
You can attach a curtain rod to the ceiling only with brackets and fixings designed for that use. A suspended plasterboard ceiling may need suitable backing or support from the structure above. Do not turn a wall bracket sideways unless its maker approves that position, and get advice before drilling into a structural concrete ceiling.
How Do I Install a Curtain Rod in a Bay Window?
A bay window usually needs a bay curtain pole with compatible corner joints or a track made for the window’s angles. Measure each straight section and each change of direction rather than treating the bay as one width. If a curtain must pass around the corners, check that its rings and supports are designed to allow that movement.
Can I Install a Curtain Rod Without Drilling?
You can install some light curtains without drilling by using a suitable tension rod or an approved no-drill bracket system. Check the product’s load limit, supported width, and surface requirements before fitting it. Adhesive brackets depend on the paint and wall finish, so they are not a safe substitute for secure fixings under heavy curtains.
How Do I Take Curtains Down Without Removing the Brackets?
You can usually take curtains down by loosening the rod’s retaining screws and lifting the rod out of its brackets. Support both ends, then remove a finial if the rings or eyelets need to slide off. Ask someone to help with a long pole, and leave the wall brackets fixed unless they need repair.